A frequent request we’ve had from our clients is how to add images to their Magento CMS newsletters. Magento CMS can look overwhelming in terms of design, but the fact still remains that it is easy to use and modify content. Watch our tutorial video below and follow the step by step instructions to add images to your newsletter! If you’re still unsure about the overall process, make sure you get in touch with us.
How to add images to your Magento newsletter
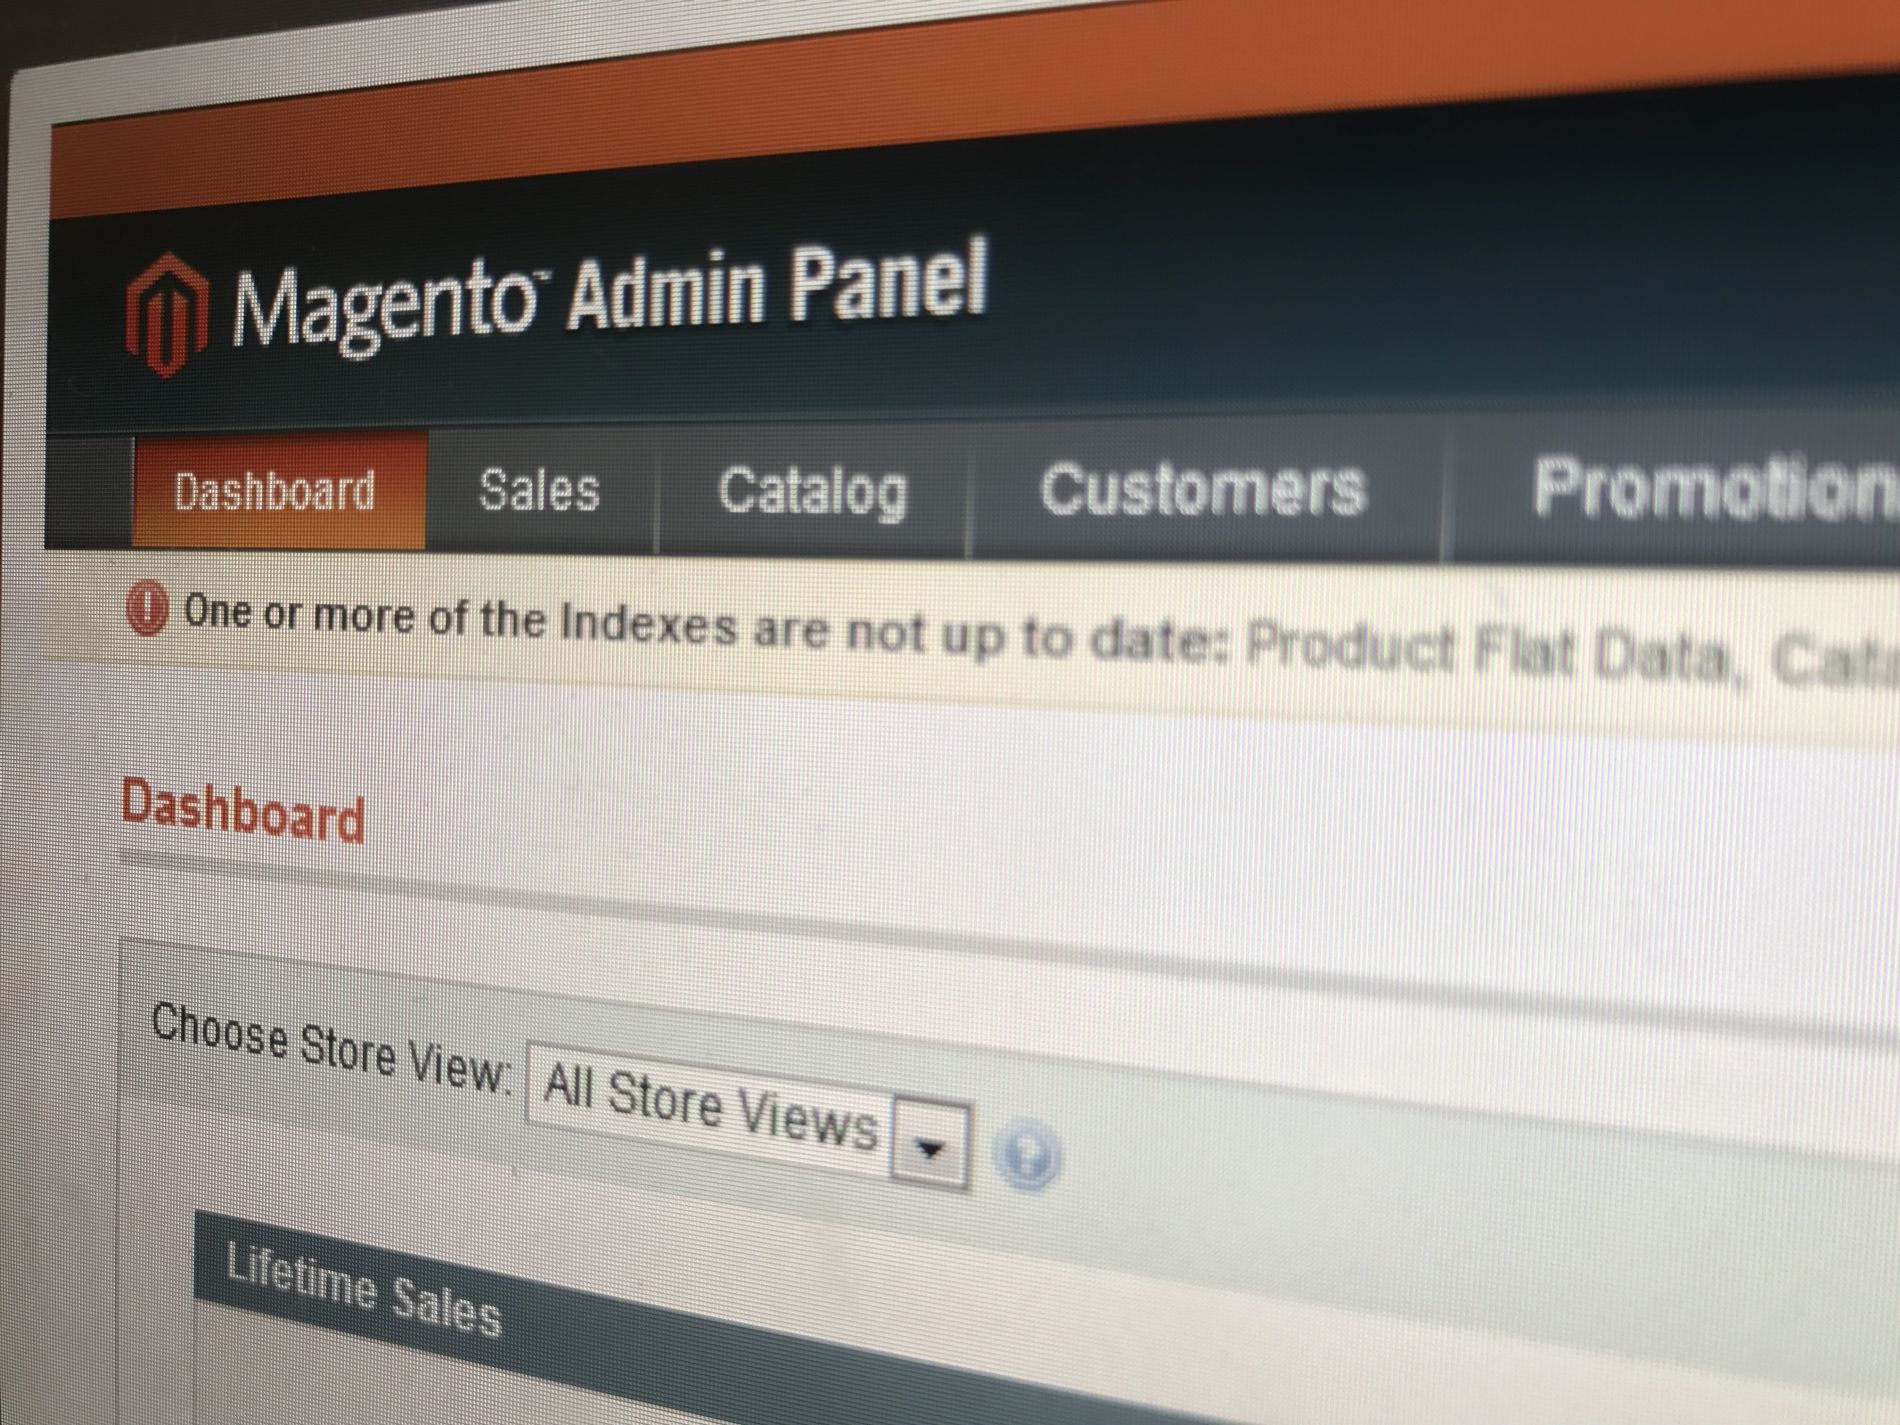
1. Log into your Magento CMS dashboard and go into the Newsletter manager.
2. Create a new newsletter or click on an existing one.
3. Click on the “Show/Hide visual editor” button.
4. Find the position in the editor that you want your image to appear.
5. Click on the picture icon (a tree in a picture frame).
6. In the pop-up that appears, click on the icon to the right of the “image URL field”.
7. Another window will appear (sometimes it appears behind the current window).
8. Choose from the available images, or upload an image from your hard drive by clicking “Browse Files” then “Upload Files” to add to the collection.
9. Select your image, and click “Insert File”.
10. Find the original “insert/edit image” window, and include any images description and title.
11. Click the “insert’ button. You have now placed an image in your newsletter.
For more useful tips about Magento CMS and website design, subscribe to our Youtube channel! If you are in need of a tutorial, make a suggestion! We will be sure to put up a video for your reference.